
If your chain’s seen better days, best get it swapped out asap. And if you fancy saving a few quid, fitting it yourself is a fairly easy introduction to more serious spannering. Here’s how to do it!
So your chain’s worn – but the sprockets look okay. Should you change the whole lot? Well, the counsel of perfection in this area is simple – you should only ever change chain and sprocket parts as a full set. Running a worn chain on a new sprocket will wear both, quicker, since the chain won’t fit the sprocket as well. Each turn will rub the ill-fitting chain rollers up and down the sprocket, and pass damage onto the front sprocket too. Some slackers leave the front sprocket – out of sight out of mind, and you can get away with a worn front for longer than a rear…
Hornet chain and sprocket change
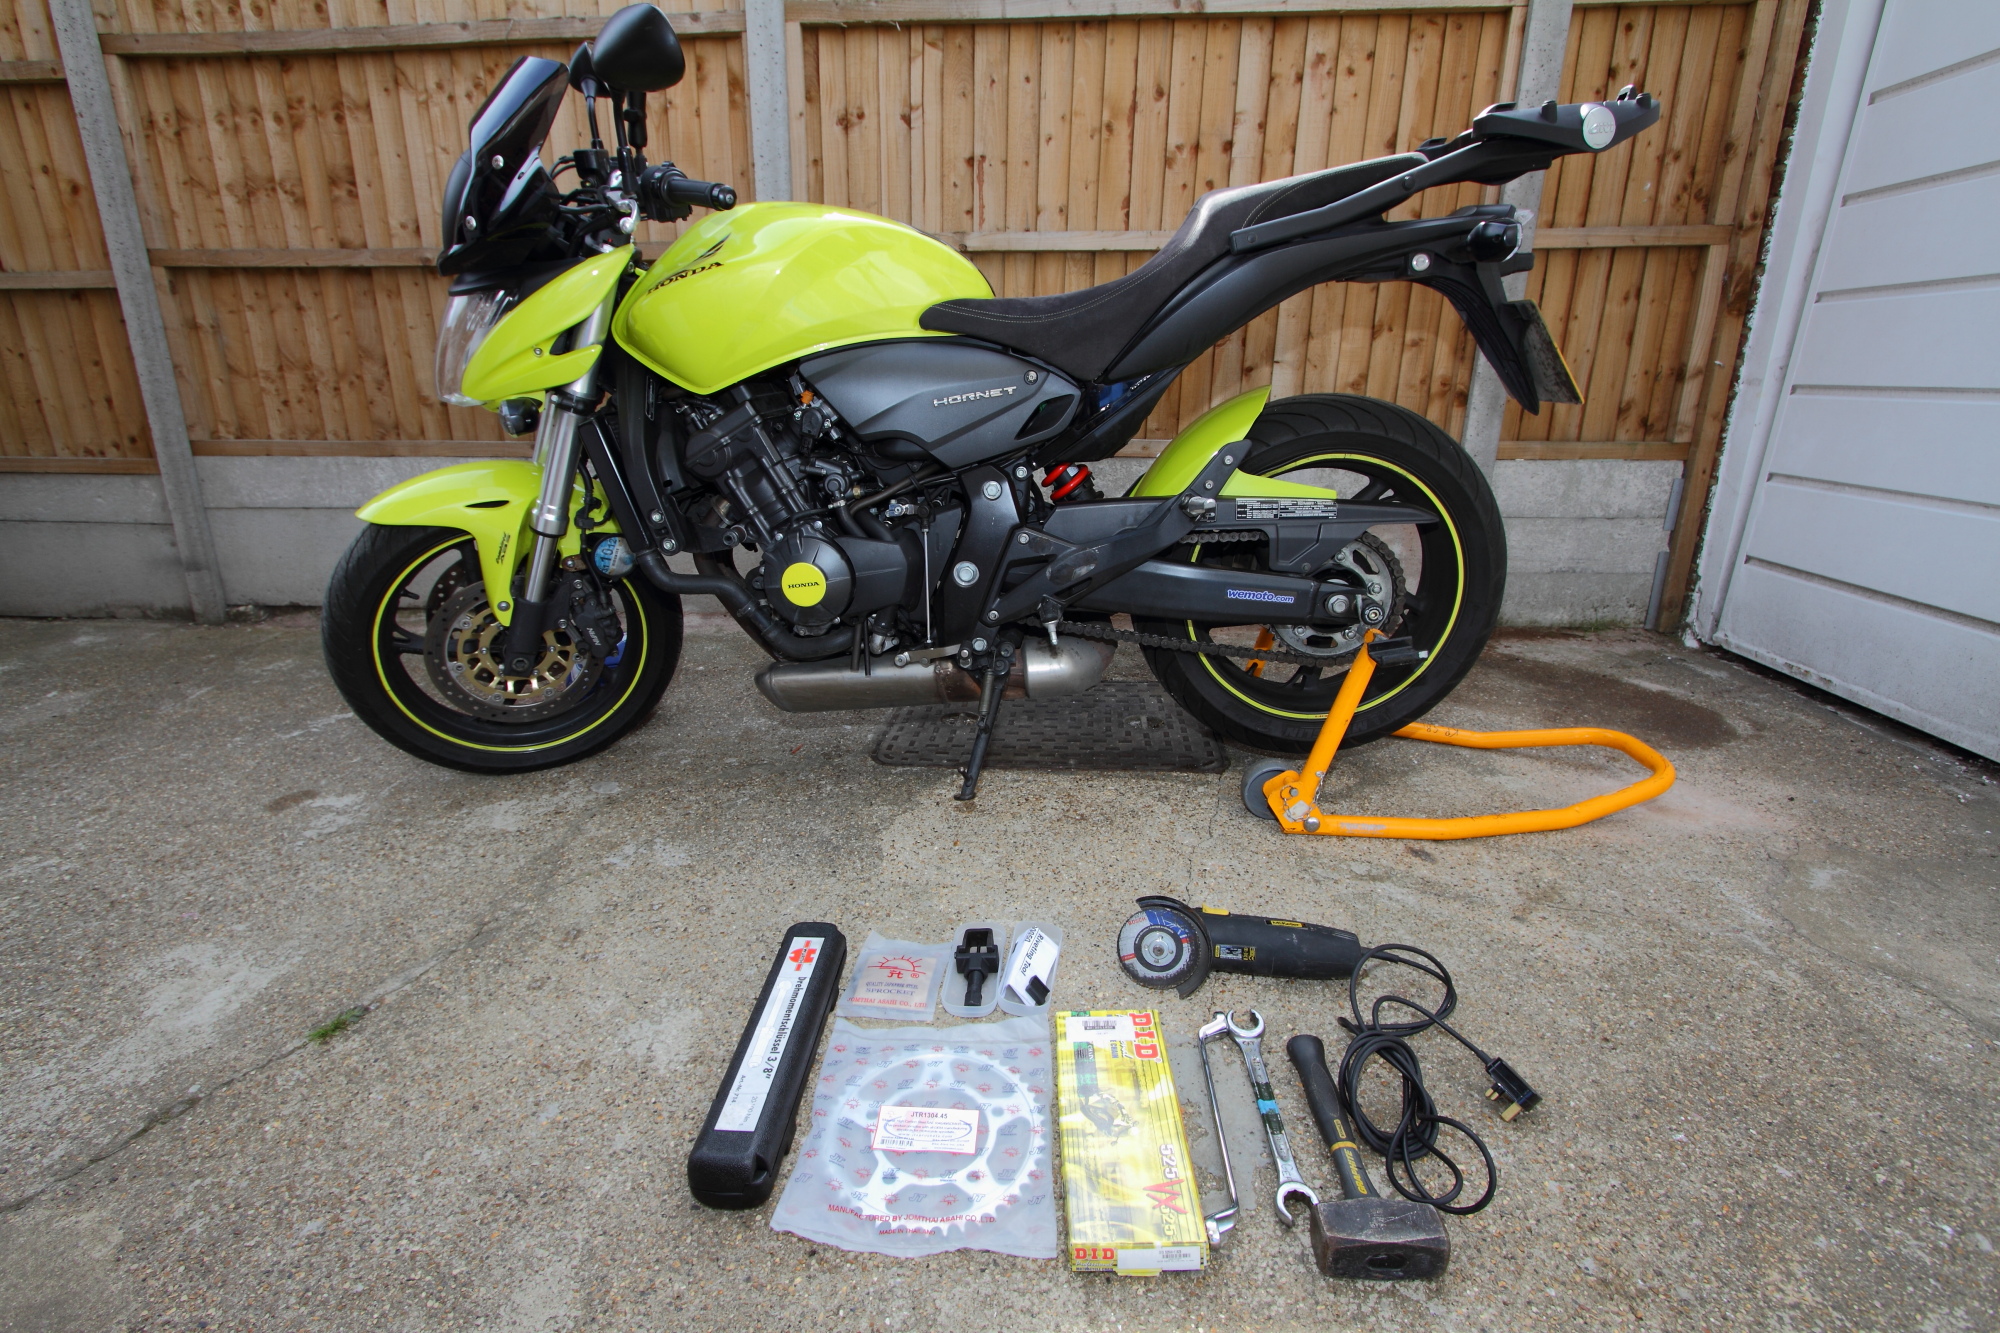
The amount of kit you need depends on how far you’re going. If you fit a new chain and both sprockets at the same time, you’ll need a chain splitter and grinder to swap chains.
Hornet chain and sprocket change
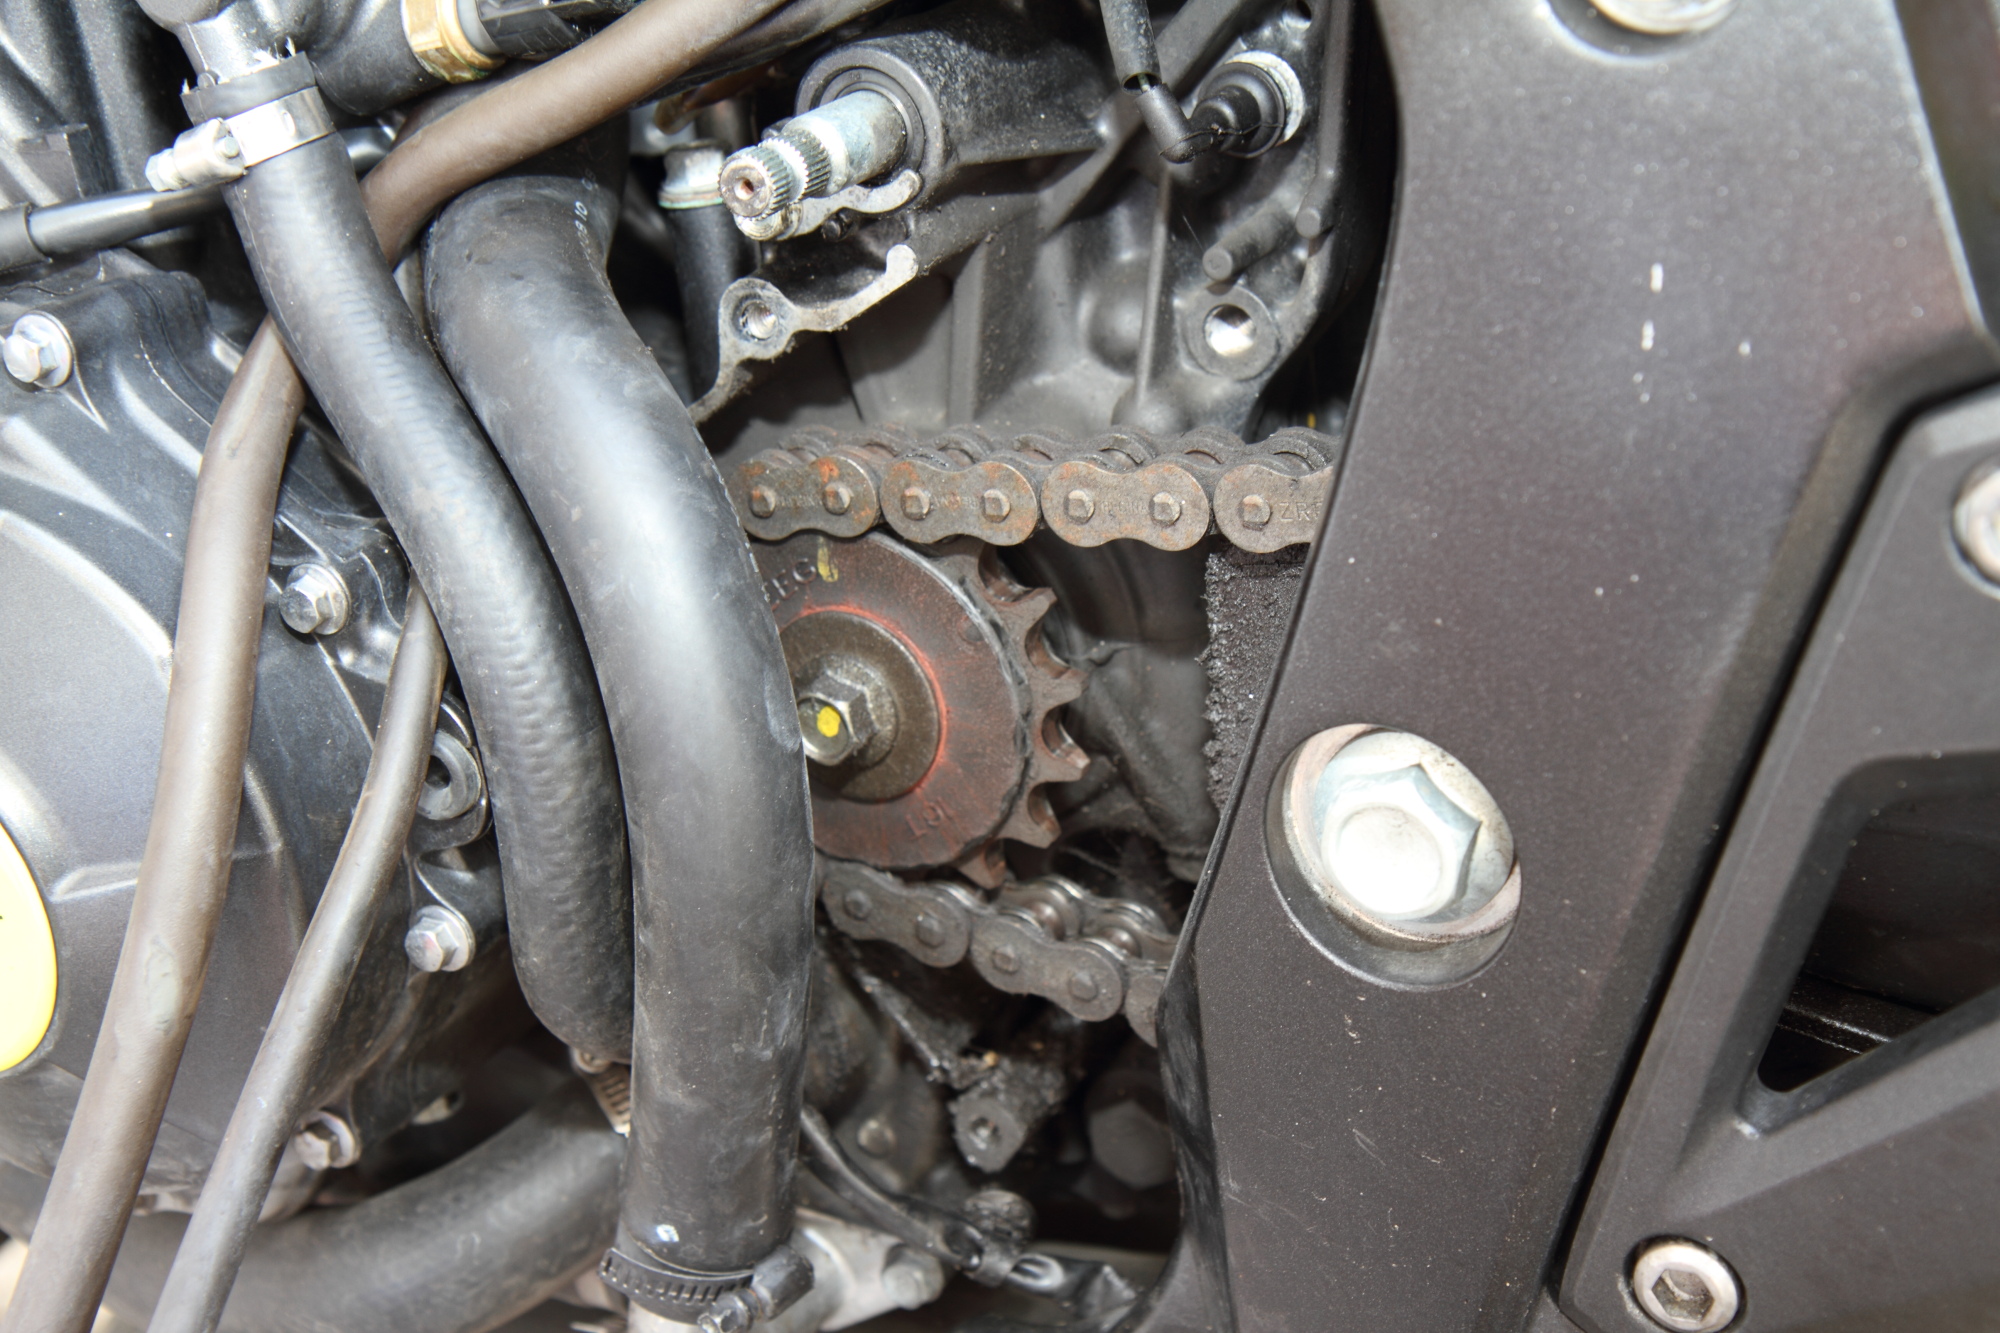
Get the bike up on a paddock stand, and we’ll do the front sprocket first. It’s under a cover, which will need a few bolts removing You usually need to remove the gear change lever as well. Loosen the pinch bolt on the gear change linkage or pedal, and slide it off, noting roughly where it’s positioned. Then unbolt the cover bolts and pull the cover off.
The front sprocket may be held on by one big central nut, or a splined plate and two smaller bolts into the sprocket. Our Hornet 600 uses a single bolt in the centre. Lock the rear wheel, by putting the bike into gear, and holding the back brake on. A helper may, er, help here… Alternatively, put a piece of wood or similar through the wheel, above the swingarm, to stop it turning. Be careful not to damage the spokes…
Hornet chain and sprocket change
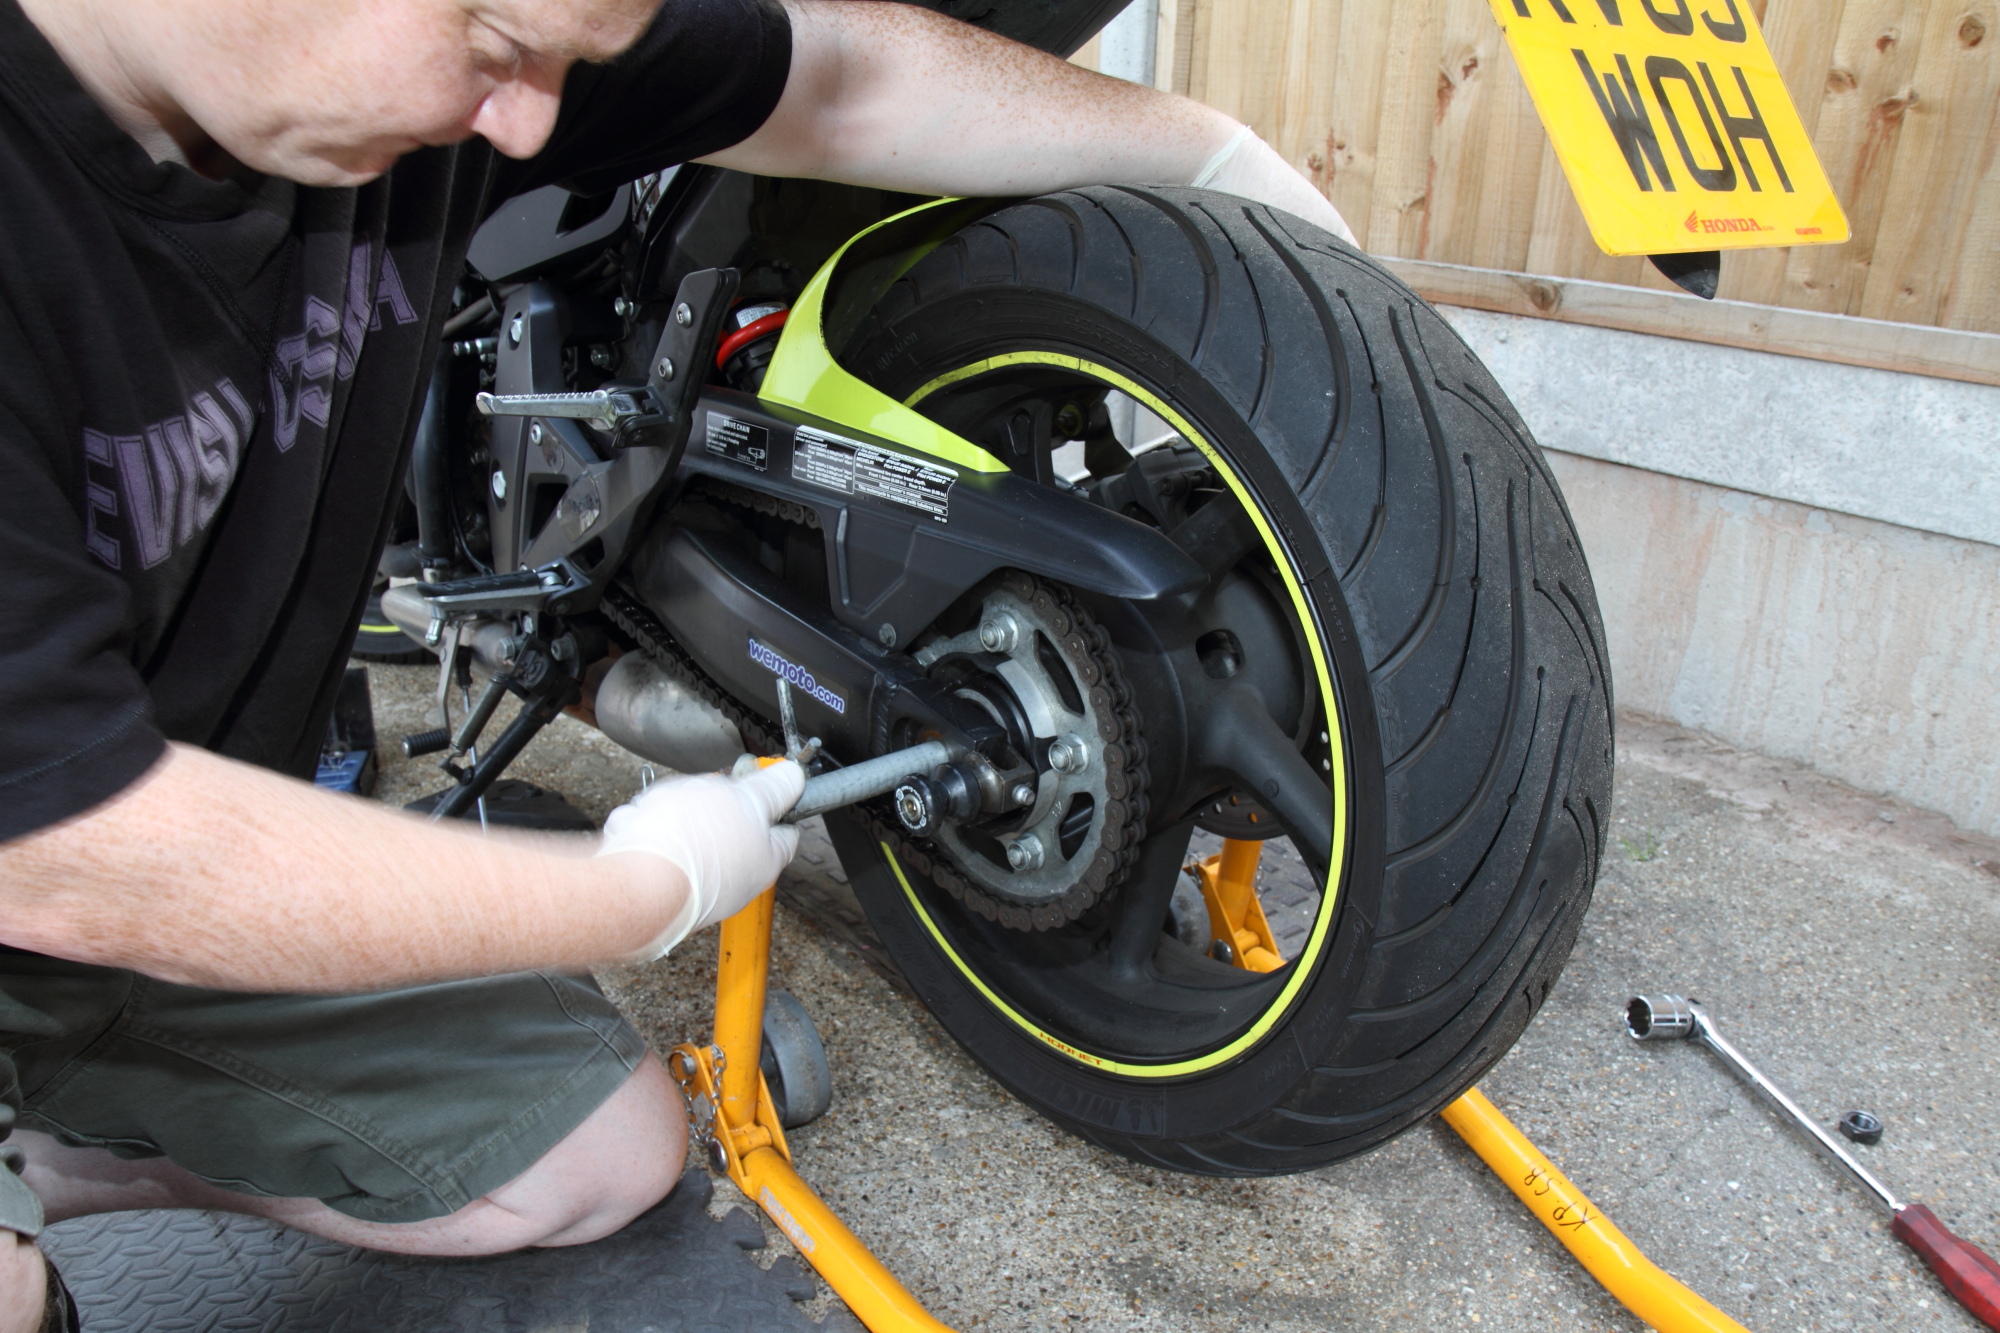
Next, remove the rear wheel. Loosen and remove the axle nut, then carefully tap the axle through, and pull it out while supporting the wheel. Watch for any wheel spacers or brake pads falling out. Here’s a tip – it’s often quicker to unbolt the rear brake caliper and hang it carefully to one side than try and finagle the wheel in and out with the caliper in place.
Hornet chain and sprocket change
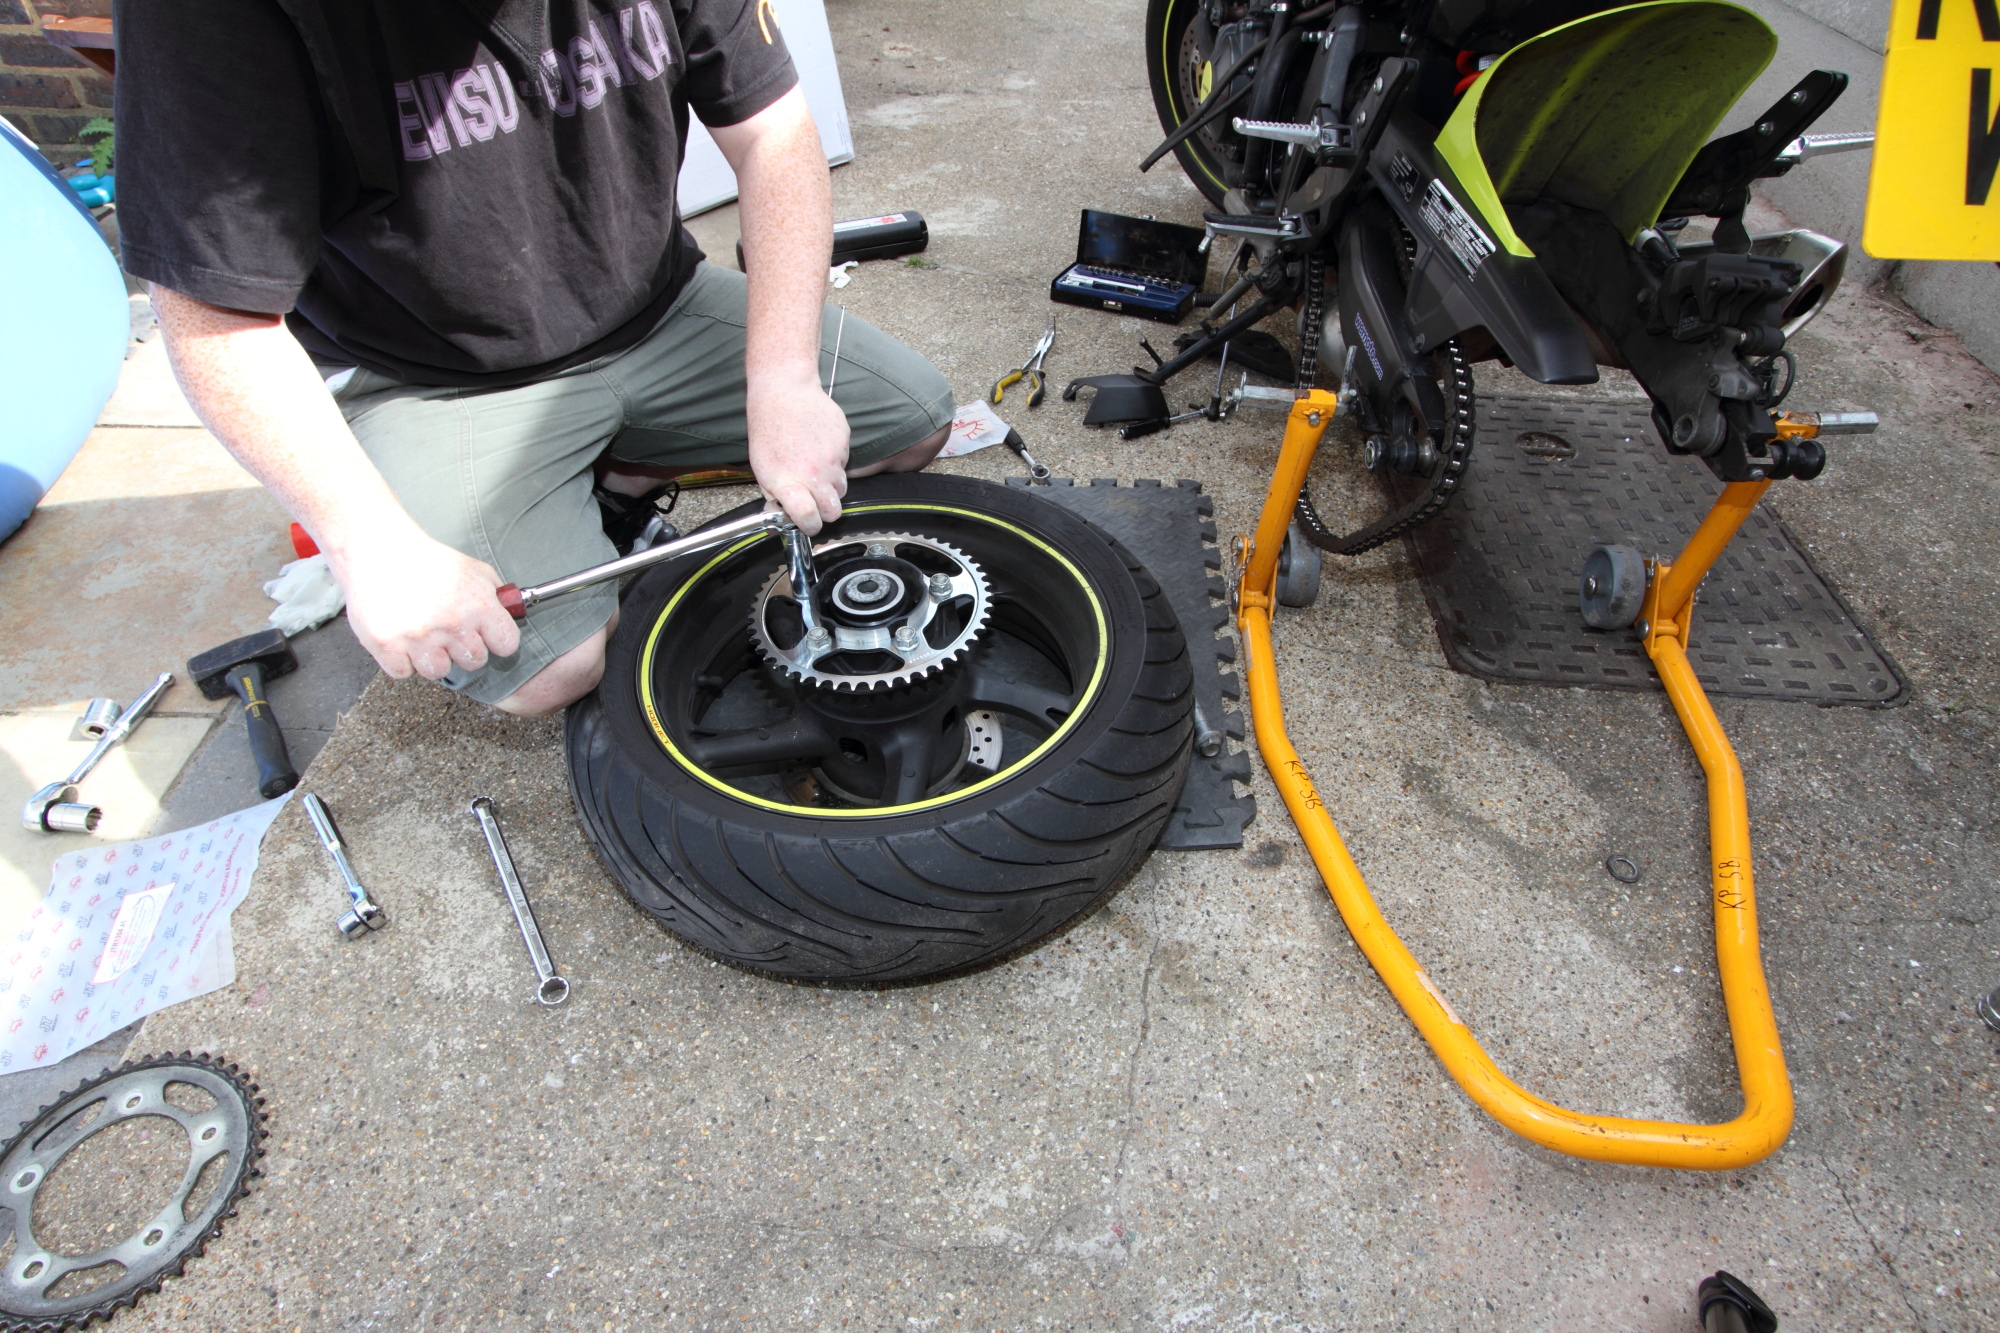
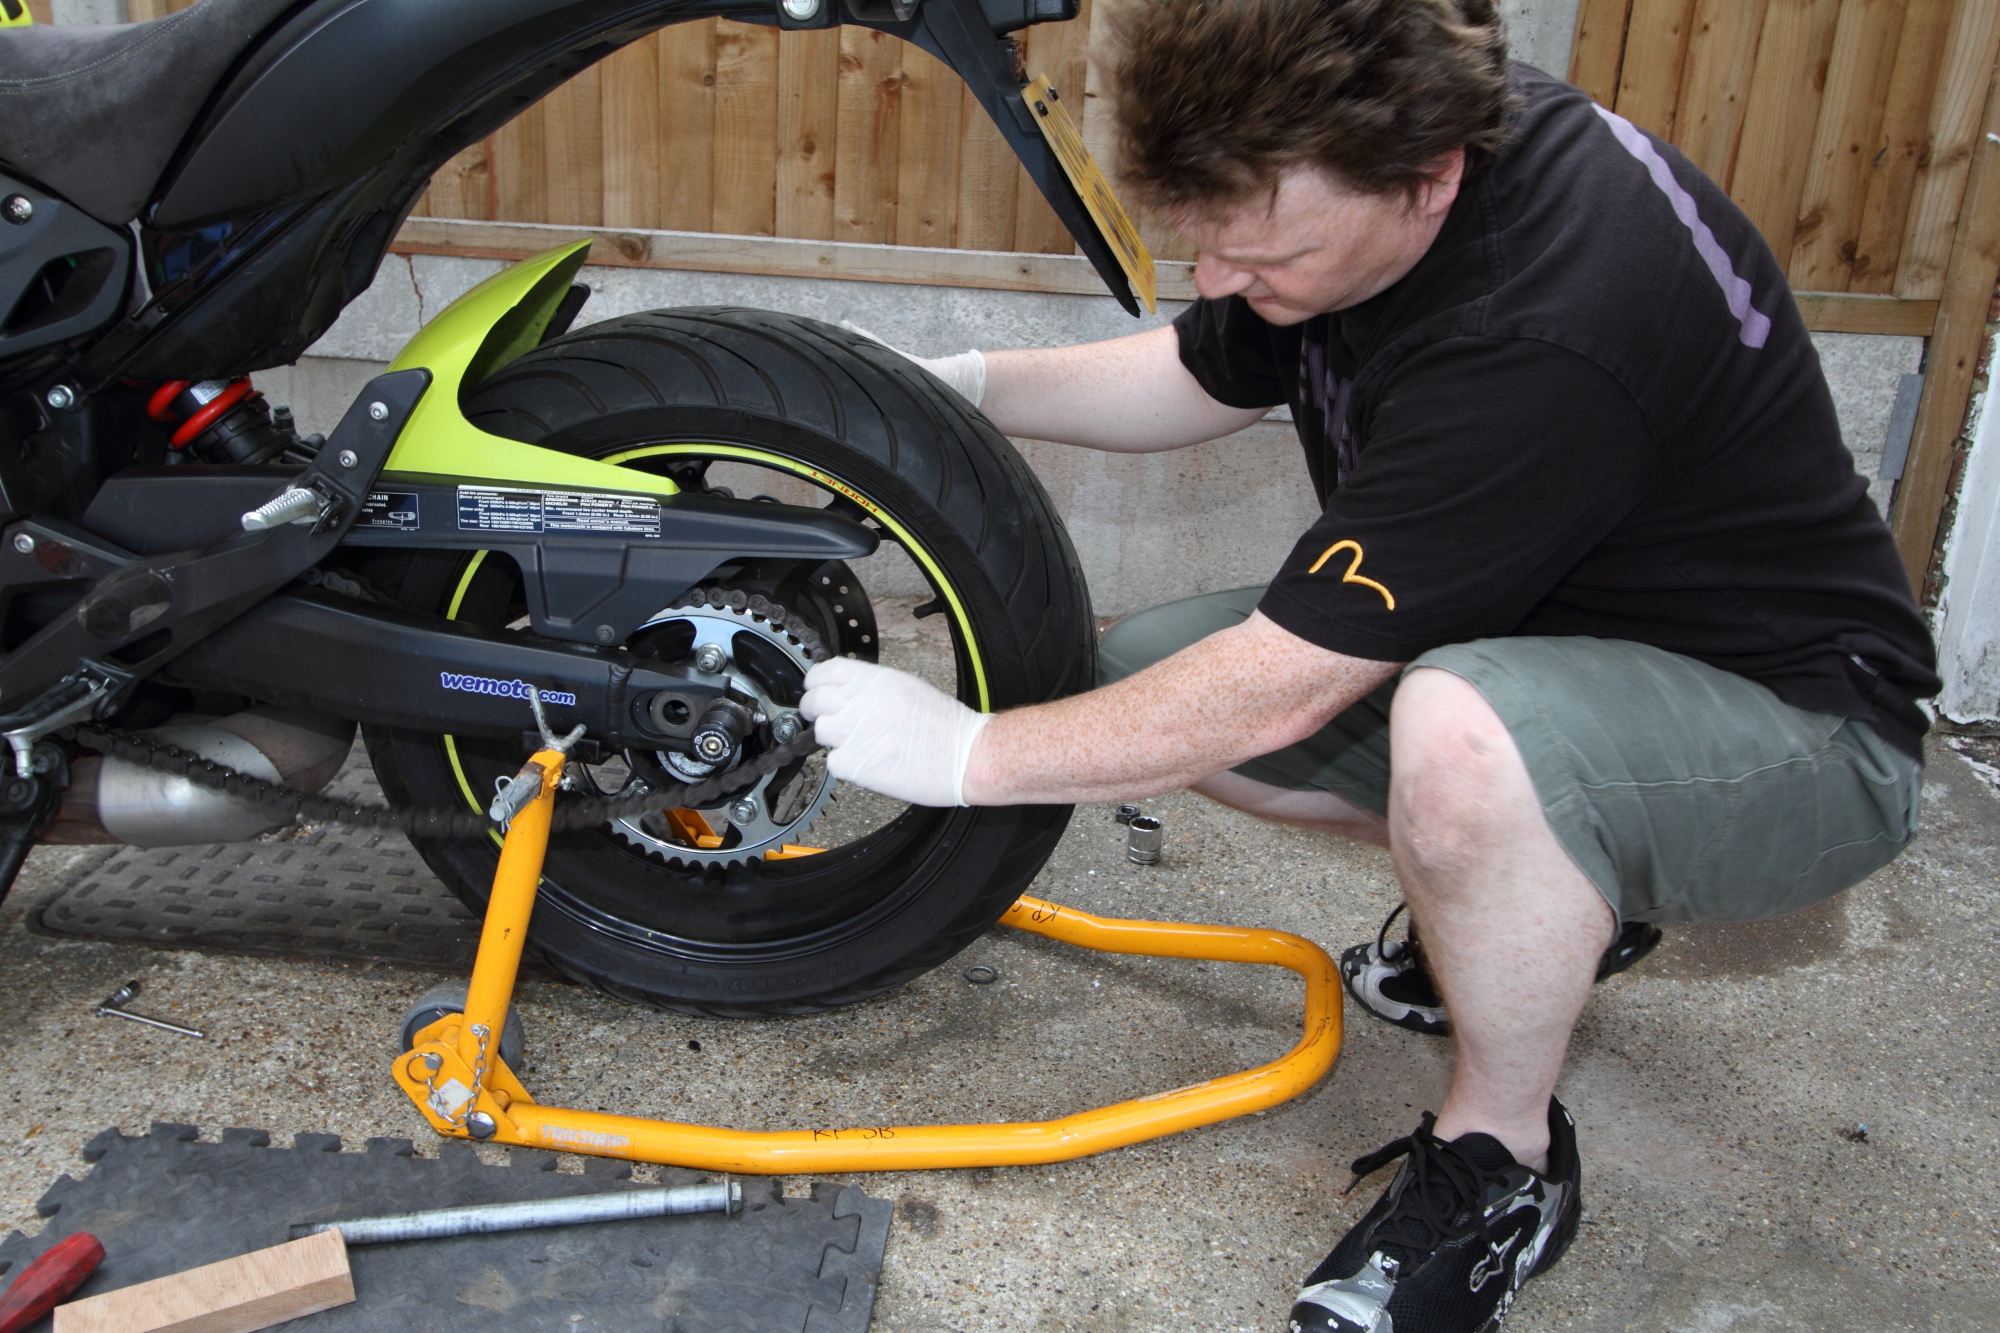
Gradually loosen the sprocket retaining nuts in a diagonal order, then remove them. They’ll be tight, but the tyre gives good grip and leverage. Hold it with your knees as shown, and get a large spanner or bar onto the nuts.
Factory manuals say self-locking nuts like these should be replaced, but we don’t bother if they’re in decent condition.
It’s worth checking the new sprocket fits properly – our new chainwheel is a perfect fit. Slip the old sprocket off and put the new one over the studs. Refit the sprocket nuts, and tighten to the appropriate torque. Search online or ask your dealer for the correct setting.
Splitting the old chain is a bit of a faff, but follow the instructions with your chain splitter. Use a grinder to grind the mushroom heads off the pins on one side, then use the splitter to push the pins out of the side plate. With the chain split and out, you can slip the front sprocket off, and fit the new one.
Hornet chain and sprocket change
When you refit the wheel, screw the chain adjusters all the way in so the wheel is as far forward as possible. Refit the wheel, remembering to replace any spacers, pads and caliper if you removed it.
Now you need to fit the new chain. Find the joining link – it should be a rivet type, with soft-headed pins. Slip the chain through and onto the new front sprocket, and back round the rear sprocket. This will make it easier to position the joining link. Assemble the link with any ‘O’ rings, and use the chain splitting tool to crush the pin heads over the side plates, securing it in place.
Adjust the chain to the recommended amount of slack, torque up the rear axle, and you’re off!
Sprocket science
Front sprockets are always made of steel – they’re hidden so don’t need to look good, and there’s no real advantage to making them from a lighter material. Out back is a different story though – the rear sprocket is both unsprung and rotating mass, so if you can cut some weight off it, you should. Stock steel parts will be made as light as possible with lightening holes and spokes. An aluminium sprocket is much lighter though, and recommended for track use, although it will wear faster than steel. A halfway house option is the ‘Supersprox Stealth’ sprockets, which use an aluminium central carrier, with a steel outer tooth ring. These wear like steel on the toothed section, yet have the weight-saving of the aluminium centre. They’re much more expensive of course…
Thanks to Wemoto.com for the sprockets, chain and splitter. www.wemoto.com
Words: @alandowds